Homemade Reese’s Cups Mini Bites
Highlighted under: Classic Cakes & Desserts
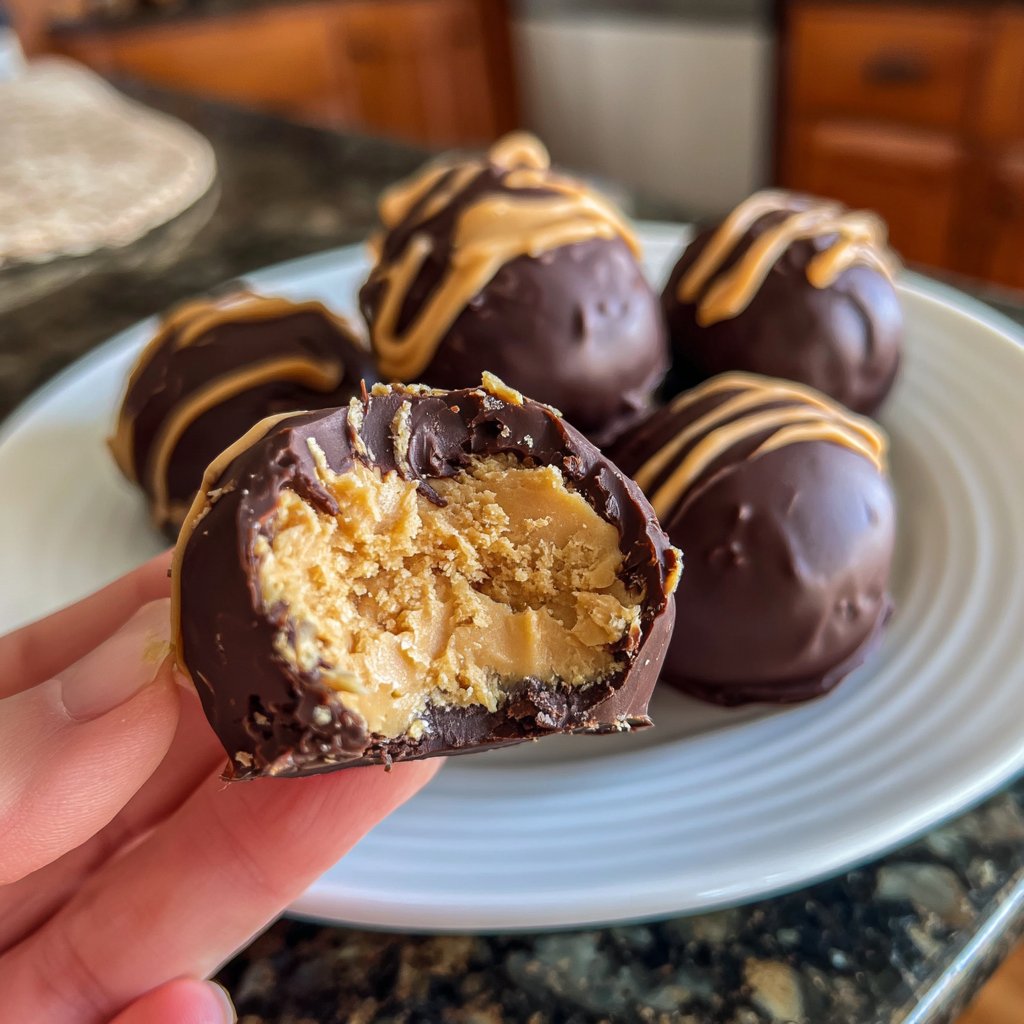
I absolutely love making these Homemade Reese’s Cups Mini Bites because they bring back so many sweet memories of my childhood. Every time I bite into one, I am reminded of the simple joy of chocolate and peanut butter coming together. It’s such a fun and easy recipe, and perfect for whenever I have a craving. Plus, making them at home means I can control the ingredients and make them just the way I like. Whether you're treating yourself or sharing, these mini bites are irresistible!
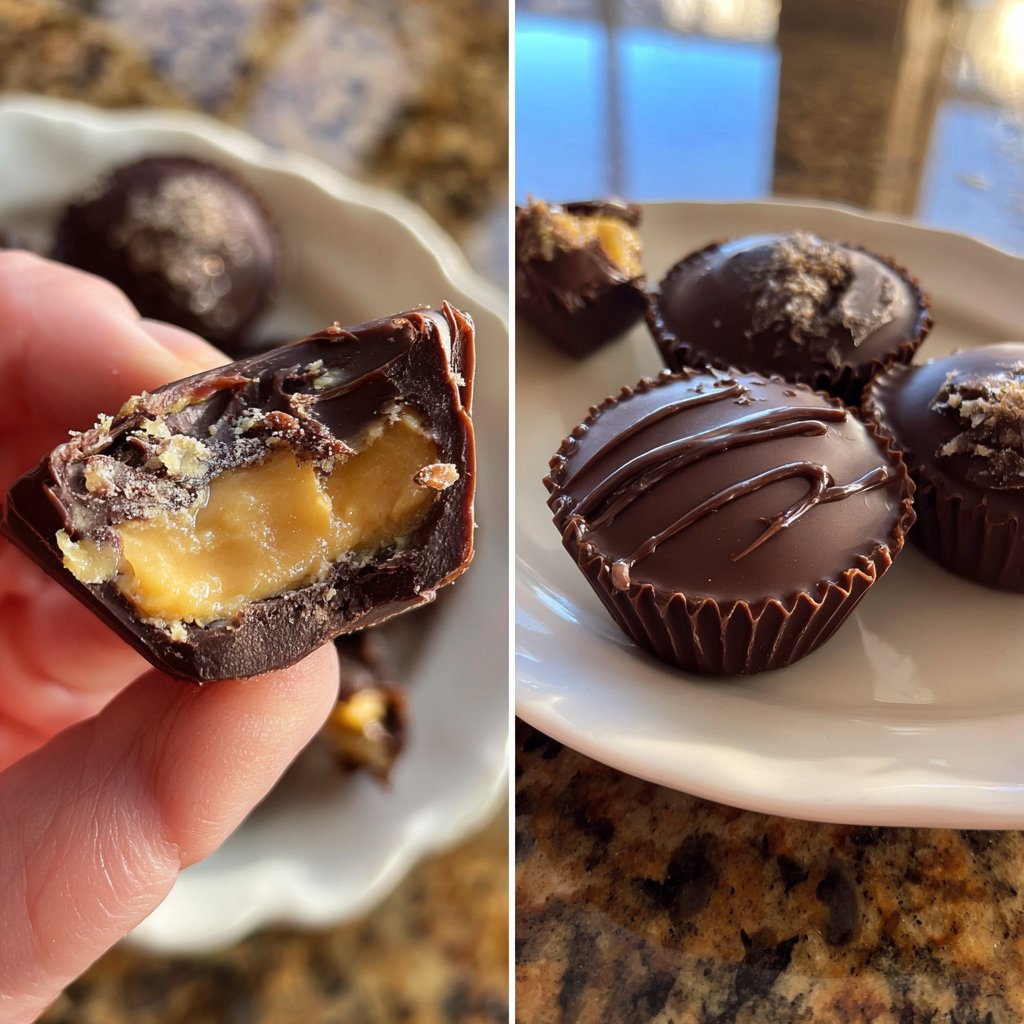
When I first made these mini Reese's Cups, I was amazed at how quickly they came together. The combination of creamy peanut butter and rich chocolate is just unbeatable! I discovered that using a combination of milk and dark chocolate really enhances the flavor and adds a little depth, making them extra special.
One of my favorite tricks is to let the chocolate cool slightly before pouring it into the molds. This prevents the chocolate from melting the peanut butter filling too quickly, resulting in that perfect layer of rich goodness. I always make sure to keep a batch on hand for unexpected guests or late-night snacking!
Why You Will Love This Recipe
- Rich chocolate flavor paired with creamy peanut butter
- Perfectly sized for a small indulgence or a delightful treat
- Easy to make and customize with your favorite toppings
Peanut Butter Filling Secrets
The peanut butter filling is the heart of these mini bites, and the balance of flavors is essential for achieving that iconic Reese’s taste. Using creamy peanut butter is crucial because it blends smoothly with the other ingredients, ensuring a consistent texture. If you're looking for a slightly healthier alternative, consider using natural peanut butter, but keep in mind that it may be a bit runnier. To enhance the flavor, you could also add a pinch of salt to the filling, which elevates the overall taste.
When combining the powdered sugar, softened butter, and vanilla extract with the peanut butter, be sure to mix until no lumps remain. This not only ensures a smooth filling but also aids in achieving that creamy texture that melts in your mouth. It's a good idea to taste the filling before proceeding; you can adjust the sweetness by adding more powdered sugar if needed. Remember that the filling will firm up when chilled, so it should be slightly softer than your desired final texture.
Chocolate Coating Techniques
Melting chocolate can be tricky, as overheating can cause it to seize, turning it into a grainy mess. I find that melting in short bursts of 30 seconds helps control the heat, allowing for smooth and glossy chocolate. Stirring in between intervals is crucial as it distributes the heat evenly. Once melted, the chocolate should be smooth and shiny, ready to coat the peanut butter filling. For a richer chocolate flavor, consider using dark chocolate instead of semi-sweet, but be mindful of the sweetness balance with the filling.
When adding the chocolate layer on top of the peanut butter filling, make sure to fully cover it, as this keeps the filling secure and ensures a uniform bite. If you want a thicker chocolate shell, you can double dip by waiting for the first layer to set in the fridge before adding an additional layer of chocolate. This will create a more substantial chocolate experience. Additionally, feel free to sprinkle some sea salt on top before chilling for an added contrast to the sweetness.
Storing and Serving Suggestions
These Homemade Reese’s Cups Mini Bites can be stored in an airtight container in the refrigerator for up to two weeks. If you want to keep them longer, consider freezing them. To freeze, place them in a single layer on a baking sheet until solid, then transfer them to a freezer-safe bag. They will last for up to three months in the freezer. When you're ready to enjoy them, just let them thaw at room temperature for about 10-15 minutes before serving to restore their creamy consistency.
For a fun twist, serve these mini bites at parties alongside other miniature desserts for a charming dessert platter. You can also customize them with various toppings like crushed pretzels, chopped nuts, or even a drizzle of caramel for added flavor and texture. Experimenting with different chocolate types, like white chocolate or even flavored chocolates, can create unique variations that cater to different tastes—just remember to adjust the sweetness of the filling accordingly!
Ingredients
Gather all the following ingredients to create these delightful mini treats.
For the Peanut Butter Filling
- 1 cup creamy peanut butter
- 1/2 cup powdered sugar
- 1/4 cup unsalted butter, softened
- 1/2 teaspoon vanilla extract
For the Chocolate Coating
- 1 cup semi-sweet chocolate chips
- 1/2 cup milk chocolate chips
Now that you have everything ready, let’s move on to the next step!
Instructions
Follow these simple steps to create your very own Reese’s Cups Mini Bites.
Prepare the Peanut Butter Filling
In a medium bowl, mix together the peanut butter, powdered sugar, softened butter, and vanilla extract until smooth and well combined. Set aside.
Melt the Chocolate
In a microwave-safe bowl, combine the semi-sweet and milk chocolate chips. Microwave in 30-second intervals, stirring in between, until fully melted and smooth.
Assemble the Mini Bites
Drop a small spoonful of melted chocolate into each mini cupcake liner and spread it evenly across the bottom. Add a teaspoon of peanut butter filling on top, then cover with another spoonful of melted chocolate.
Chill and Set
Place the filled liners in the refrigerator for about 10 minutes or until the chocolate is fully set. Once set, gently peel away the liners and enjoy!
Your Homemade Reese’s Cups Mini Bites are now ready to be devoured!
Pro Tips
- Feel free to sprinkle some sea salt on top of the chocolate before it sets for an added burst of flavor.
Ingredient Substitutions
If you're managing dietary restrictions or simply looking to change things up, there are several substitutions you can make. For the peanut butter filling, almond butter or sunflower seed butter works well for those with nut allergies while providing a similar creamy texture. If you're aiming for a lower sugar option, try using sugar substitutes that measure like sugar, but be careful with the ratios to maintain the filling's creaminess.
For the chocolate coating, dairy-free chocolate chips can replace regular chocolate for a vegan-friendly version. Just ensure that the chocolate melts properly, as some dairy-free varieties behave differently. You could also create a swirled effect by mixing dark and milk chocolates for a visually appealing treat.
Troubleshooting Common Issues
If your chocolate coating isn’t setting properly, it may be due to moisture in the chocolate. Make sure your bowl and utensils are completely dry before you start melting. Avoid introducing any water during the melting process. If your filling is too soft after chilling, you can mix in a bit more powdered sugar to help stabilize it before assembling the bites.
Sometimes the chocolate can crack when these bites are bitten into, which can be disheartening. This usually happens when the chocolate is chilled too quickly. To prevent this, allow the bites to cool at room temperature before refrigerating them. By taking care to chill them gradually, you'll reduce the chances of cracks forming, ensuring a perfect bite every time.
Questions About Recipes
→ Can I use natural peanut butter?
Yes, but keep in mind that natural peanut butter may be more runny. You might need to adjust the amount of powdered sugar to achieve the right consistency.
→ How do I store these mini bites?
Store them in an airtight container in the refrigerator for up to two weeks to keep them fresh.
→ Can I make these vegan?
Absolutely! Use dairy-free chocolate chips and a plant-based butter substitute.
→ What can I add to the filling for extra flavor?
Consider adding a pinch of cinnamon or a splash of maple syrup to the peanut butter mixture for a unique twist.
Homemade Reese’s Cups Mini Bites
Created by: Charity Bowen
Recipe Type: Classic Cakes & Desserts
Skill Level: Easy
Final Quantity: 24 mini bites
What You'll Need
For the Peanut Butter Filling
- 1 cup creamy peanut butter
- 1/2 cup powdered sugar
- 1/4 cup unsalted butter, softened
- 1/2 teaspoon vanilla extract
For the Chocolate Coating
- 1 cup semi-sweet chocolate chips
- 1/2 cup milk chocolate chips
How-To Steps
In a medium bowl, mix together the peanut butter, powdered sugar, softened butter, and vanilla extract until smooth and well combined. Set aside.
In a microwave-safe bowl, combine the semi-sweet and milk chocolate chips. Microwave in 30-second intervals, stirring in between, until fully melted and smooth.
Drop a small spoonful of melted chocolate into each mini cupcake liner and spread it evenly across the bottom. Add a teaspoon of peanut butter filling on top, then cover with another spoonful of melted chocolate.
Place the filled liners in the refrigerator for about 10 minutes or until the chocolate is fully set. Once set, gently peel away the liners and enjoy!
Extra Tips
- Feel free to sprinkle some sea salt on top of the chocolate before it sets for an added burst of flavor.
Nutritional Breakdown (Per Serving)
- Calories: 120 kcal
- Total Fat: 8g
- Saturated Fat: 2.5g
- Cholesterol: 5mg
- Sodium: 75mg
- Total Carbohydrates: 10g
- Dietary Fiber: 1g
- Sugars: 6g
- Protein: 3g